Starting yoga at home is easier when you know what to do, how to modify each pose, and how to notice gradual changes. This beginner-friendly guide covers foundational standing, seated, balancing, and resting yoga poses, then gives you a simple way to track comfort, consistency, mobility, and confidence over time.
Overview
You do not need to be flexible, strong, or experienced to begin. A useful yoga practice starts with manageable movements, steady breathing, and enough attention to recognize what your body is telling you. The goal is not to force a shape. It is to build a repeatable practice that feels appropriate for your current ability.
Before you begin, clear a small space and gather a mat or folded blanket. Two sturdy books can temporarily substitute for blocks, although purpose-made props may be more stable. Wear clothing that allows you to move without restriction. Practice on a surface that does not slide, and keep water nearby if needed.
Move slowly and avoid sharp, pinching, or sudden pain. A mild stretch or muscular effort can be acceptable, but pain is a reason to come out of the pose and reassess. If you have an injury, balance concern, recent surgery, or a health condition that affects movement, consider asking a qualified health professional how to adapt your practice.
Use the following sequence as a starting library rather than a test. Hold each pose for three to five comfortable breaths, or less if you are new to the movement. Between poses, return to a neutral position and notice how you feel.
- Mountain Pose: Stand with feet hip-width apart or slightly wider. Let your arms rest by your sides. Spread your weight across the feet, soften your knees, lengthen through the crown of your head, and allow your shoulders to relax. Avoid locking the knees or pushing the ribs forward.
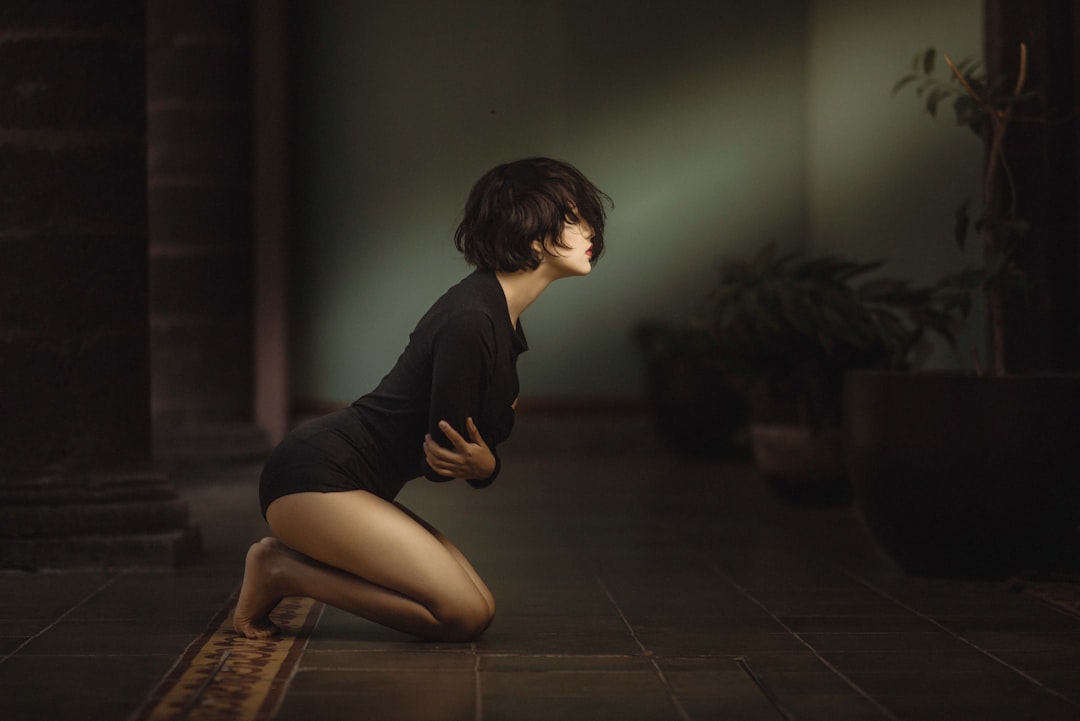
- Child's Pose: From kneeling, bring your hips toward your heels and fold your torso forward. Rest your forehead on a cushion or block if it does not comfortably reach the floor. Keep the knees together or widen them, depending on what feels better for your hips and back. If kneeling is uncomfortable, skip this pose and rest on your back instead.
- Cat-Cow: Begin on hands and knees with wrists under shoulders and knees under hips. Inhale as you gently lengthen the spine and lift the chest; exhale as you round the back without forcing the neck. Move within a comfortable range rather than trying to create a dramatic arch.
- Low Lunge: Step one foot forward and lower the opposite knee to a blanket. Keep the front knee generally over the ankle, and place hands on the floor, blocks, or your thigh. Draw the front hip back slightly and keep the torso lifted. Reduce the depth if you feel strain at the front of the back hip or knee.
- Warrior II: Stand with your feet wide and turn one foot outward. Bend the front knee while keeping it directed toward the toes, and extend the arms in opposite directions. Keep the back foot grounded as comfortably as possible. Shorten your stance or reduce the knee bend when the pose feels unstable.
- Tree Pose: Stand near a wall or chair. Shift weight into one foot and place the other foot on the ankle or lower leg, never directly on the knee joint. Keep hands at the hips or together at the chest. Use the wall and keep the lifted toes on the floor if balancing is difficult.
- Seated Forward Fold: Sit with legs extended or knees gently bent. Lengthen the spine before folding from the hips, and place hands on the thighs or shins. Do not pull yourself toward the feet. A folded blanket beneath the hips can make sitting more comfortable.
- Bridge Pose: Lie on your back with knees bent and feet planted. Keep feet about hip-width apart, press through the feet, and lift the hips only as high as you can without compressing the lower back. Keep the neck relaxed and lower slowly. Stay with a supported, smaller lift if needed.
- Constructive Rest: Lie on your back with knees bent and feet on the floor, or place the lower legs on a chair. Let the arms rest comfortably and take several quiet breaths. This is a useful resting pose between movements and an accessible alternative when a more active pose is not appropriate.
For more pose options by purpose, use the Yoga Pose Finder by Goal. If you prefer shorter sessions, the 15-Minute Yoga Flows guide can help you turn individual poses into a practical sequence.
What to track
A simple record makes a daily yoga routine easier to evaluate without turning it into a performance. After each session, note the following variables in a notebook or phone:
- Consistency: Record the date, approximate duration, and poses completed. A five-minute practice still counts as useful information.
- Comfort: Rate the overall practice from easy to challenging, or use a simple scale such as comfortable, manageable, or too demanding. Add the name of any pose that caused concern.
- Breathing: Notice whether you could breathe smoothly or repeatedly held your breath. Breath-holding often signals that you need less intensity, more support, or a shorter hold.
- Range of motion: Track functional observations rather than forcing a measurement. For example, you might note that sitting cross-legged felt easier, reaching overhead felt less restricted, or the forward fold still felt limited.
- Balance and control: Record whether you used a wall, chair, or block. Needing support is not a failure; it shows you how to practice safely and gives you a clear marker for future comparison.
- After-effects: Check in immediately after practice and again later in the day when practical. Note whether you feel settled, energized, unchanged, or irritated. A pose that feels acceptable during practice but leaves lasting discomfort deserves modification or removal.
Keep the log brief enough that you will actually use it. A sample entry might read: “Tuesday, 12 minutes; Mountain, Cat-Cow, Low Lunge, Warrior II, Constructive Rest; breathing steady; used blocks; right hip felt tighter; comfortable afterward.”
Cadence and checkpoints
Start with two or three sessions per week for the first month. This gives you enough repetition to learn the poses while leaving room for rest and adjustment. On busy days, choose three poses and practice for five minutes. On days when you have more time, use the full library or combine it into a gentle 15-minute yoga flow.
Use three checkpoints:
- After each practice: Record duration, comfort, breathing, and any symptoms. This immediate check-in helps identify poses that need a prop or smaller range.
- At the end of each week: Look for patterns. Were you more comfortable practicing in the morning or evening? Did a certain pose repeatedly feel difficult? Did shorter sessions make consistency easier?
- At the end of each month: Repeat a small set of familiar poses and compare your notes. Choose Mountain Pose, Low Lunge, Warrior II, Tree Pose, and a resting pose. Compare steadiness, breathing, support needs, and comfort rather than trying to achieve a deeper shape.
Change only one or two variables at a time. You might add a breath to each hold, practice one additional day, or replace a challenging pose with a supported variation. Changing everything at once makes it difficult to understand what helped.
How to interpret changes
Progress in yoga is not limited to touching your toes or holding a balance longer. More useful signs include smoother breathing, less hesitation when setting up, better awareness of alignment, and the ability to stop before discomfort becomes pain. You may also find that a prop lets you practice with better control. That is a meaningful improvement, not a shortcut.
If a pose becomes easier, keep the same version for several sessions before increasing intensity. Then make a small adjustment: hold for one more breath, reduce reliance on a prop, or explore a slightly wider range. Do not make all three changes together.
If progress stalls, check the basics. You may be practicing when tired, skipping warm-up movements, holding poses too long, or choosing a level that does not match your current needs. Return to Cat-Cow, Mountain Pose, and Constructive Rest for a week, then reintroduce one standing or balancing pose. For knee-related concerns, review Yoga Poses to Avoid with Knee Pain and consider gentler alternatives.
Persistent or worsening pain, numbness, dizziness, unusual shortness of breath, or symptoms that affect daily activities should not be treated as a normal part of yoga. Stop the practice and seek appropriate professional guidance.
When to revisit
Revisit this guide weekly while you are learning the sequence, monthly when building consistency, and quarterly when reviewing your broader goals. A monthly review is enough for most beginners: update the poses you use, remove variations that no longer feel suitable, and choose one modest focus for the next four weeks, such as steadier breathing or more comfortable standing.
Return sooner when your schedule, fitness level, equipment, or physical needs change. Pregnancy, recovery from illness or injury, new joint symptoms, and changes in balance all call for a fresh review of modifications. If you practice at a desk or have limited standing tolerance, explore Chair Yoga Poses for Seniors for seated options. If you are over 50 and want a lower-impact approach, see Gentle Yoga for Beginners Over 50.
To begin today, set a timer for ten minutes. Practice Mountain Pose, Cat-Cow, Low Lunge on both sides, Warrior II on both sides, and Constructive Rest. Write down how you felt before and after. Repeat that same short sequence two or three times this week, then use your notes to decide what to keep, modify, or explore next. Consistent, attentive practice is a stronger foundation than an ambitious routine you cannot comfortably repeat.